Code For Free
  • Home
  • Robotics
    • Microcontrollers >
      • Essentials
      • About ATmega16
    • Optical Encoders
    • Servo Motors
  • Stellaris
    • Introduction to Stellaris LaunchPad
    • Tutorial 1 : Blink
    • Tutorial 2 : Using Button Switch
    • Tutorial 3 : Using a locked pin for GPIO usage
    • Tutorial 4 : Serial Communication using Stellaris LaunchPad
  • OpenCV
    • Tutorial 1 : Open and Display Image
    • Tutorial 2 : Streaming video from Camera
    • Tutorial 3 : Image Filtering Techniques
  • Android Tutorials
    • App Development >
      • Installing android IDE
      • My First App
      • Running your app
    • Rooting
  • MatLab
  • About us

Rooting Your Android Device

What is Rooting?

Rooting in simple words is getting complete control of your device. Am I not having complete control now?? Well, though the phone is all yours and you are able to make changes as you wish,  you are not actually in "complete" control . You lack some administrative privileges, blocked by the manufacturer. You might have noticed that you cannot delete certain apps that come installed with your phone even if you never use them. This is because you lack admin control.  Rooting enables you to decide the complete outlook of your device. Before proceeding here are few keywors you should know.

Why root?

Ohk...Now I understood what rooting is...But why do I need admin privileges?
Let me give you a few reasons:
  • Increase internal memory of your phone: Do you keep getting troubles installing apps, due to lack of internal memory? Then rooting can help you. It doesn't actually increase your phone's internal memory, but helps you link apps to your SD card which cannot be moved to SD card . This saves a lot of space on your phone. How to do?
  • Improve performance: Want to increase your processor speed? Or improve battery life? Rooting can open up an option for you. ie. overclocking and undervolting.
  •  Remove bloatware: You need root if you want to remove the unused apps that came installed with your phone, and eat up your internal memory.
  • Use Root only apps: To use root only apps like ROM manager, Titanium backup, etc.
  • Manage ROMs : Inorder to flash custom ROMs or update android OS when your wish rather than when your manufacturer provides it for you.

WARNING

So, planning to Root your phone?? Wait a second....There are a few things you should know before you ROOT. 
Rooting your phone will void your phone's warranty, and there is always the risk of "bricking" your device. Anything gone wrong, any instruction skipped or ignored can potentially make your device unusable. Though there are methods to unbrick your phone if its 'soft bricked', you can't guaratee it. And forget about it if the phone has entered a 'hard brick'. I'm not planning to frighten you further, but if you are not sure DO NOT PROCEED.  Click to know more about bricking.

Disclaimer :  (Sorry guyz..but this is essential...) I am not reponsible for any damage caused to your device by following the instructions in this site. Rethink before you proceed to the next section.

How to root?

So, you have decided to root your phone...Well then happy rooting :D Lets proceed:
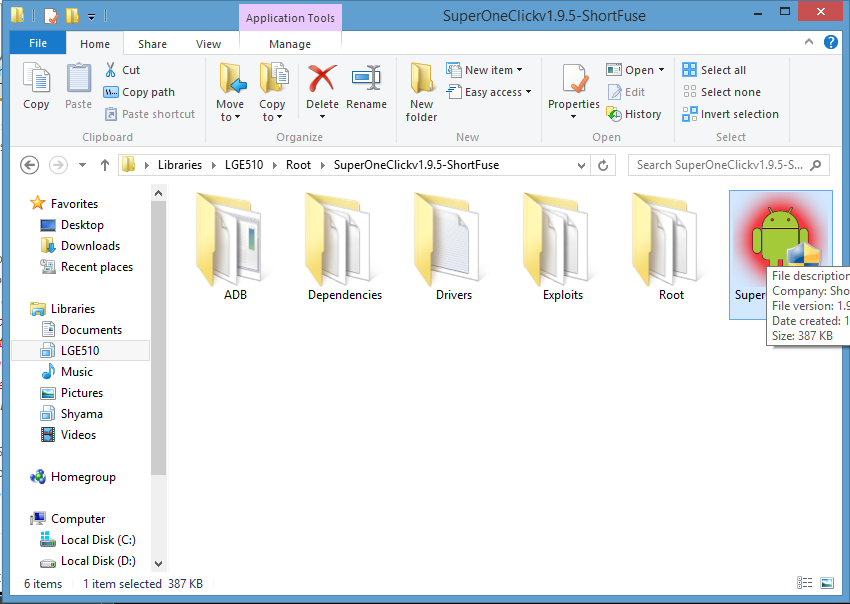
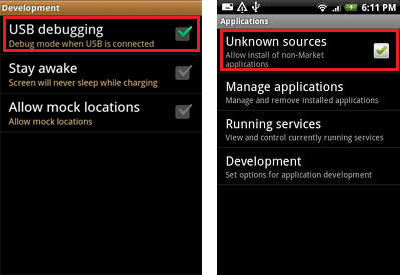
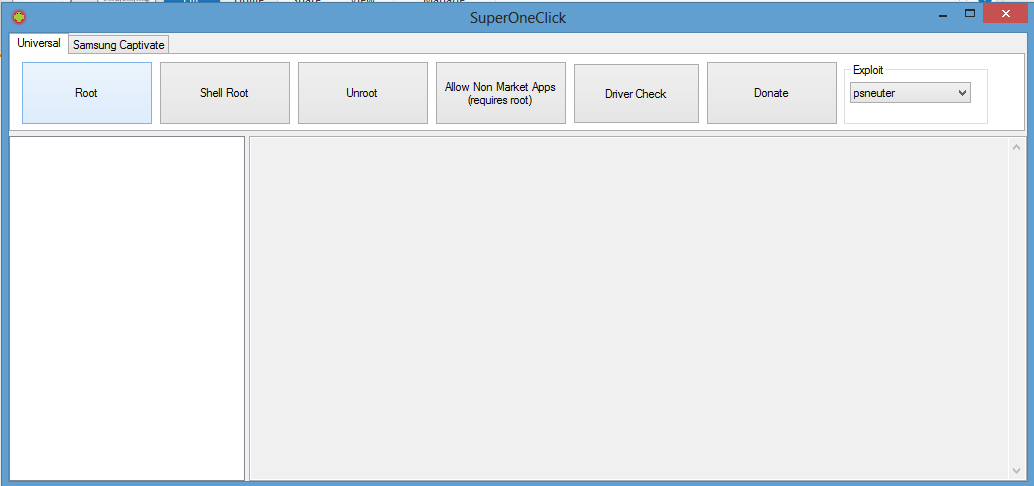
There are several ways to root your android device. The simplest of those is a one click solution, by using an app like SuperOneClick or UnlockRoot or EasyRoot or Unrevoked or Recovery Flasher or Universal Androot.
  • Using SuperOneClick:

  1. Download SuperOneClick.zip from here.
  2. Unzip the file to any convenient folder.Your folder will look something like this after unzipping:
Picture
  1. On your phone, go to: Settings->Applications->Development->USB debugging (check it)
  2. Also check: Settings->Applications->Unknown Sources
Picture
  1. Connect your phone to PC via USB data cable. Make sure you've installed required drivers for your phone.
  2. Run SuperOneClick.exe from the extracted folder.
  3. Click on Root.

Picture
  1. Wait until the process completes. Do not close the window while the process is going on. If a dialog box appears asking "Your device already appears to be rooted. Are you sure you want to continue?", then click OK.
  2. On termination of the process a dialog pops up saying "Root install has completed", indicating successful rooting .
  3. Then an su command will be send to your phone, and you will have to select Allow in Superuser and click OK.
  4. Restart your phone. And there you are rooted :).
  5. Also an app called superuser will be installed in your apps, indicating root.
Picture
Powered by Create your own unique website with customizable templates.